
Windows 11 is the latest operating system released by Microsoft, but not everyone is happy with the changes it brings. If you are one of those users who find Windows 11 to be too different or problematic, you may want to downgrade to Windows 10.
In this article, we will guide you on how to downgrade from Windows 11 to Windows 10 step by step.
How to downgrade Windows 11 to Windows 10
Method 1. Roll Back an Upgrade Within the First 10 Days
When you upgraded from Windows 10 to Windows 11, you cannot have wiped your system clean for this method to function. Your files and programs were not lost during the transition thanks to Windows Update or the Windows 11 Installation Assistant.
In addition, you must still be inside Microsoft’s ridiculously short 10-day window for rolling back the upgrade.
Don’t worry if you’re unsure about either point. If the choice is still there, you may still use these instructions. We strongly suggest that you back up your files before you start.
This option is available in Windows 11’s settings if you’re still inside the 10-day window.
- Choose Recovery Options from the Settings menu. The quickest way to accomplish this is to navigate to the Start Menu and type “recovery options”.
- Search for Go back. If you don’t see this option, you’ve missed your 10-day window and must use the alternative method described below to downgrade.
- Click on the Go back button to begin the process.
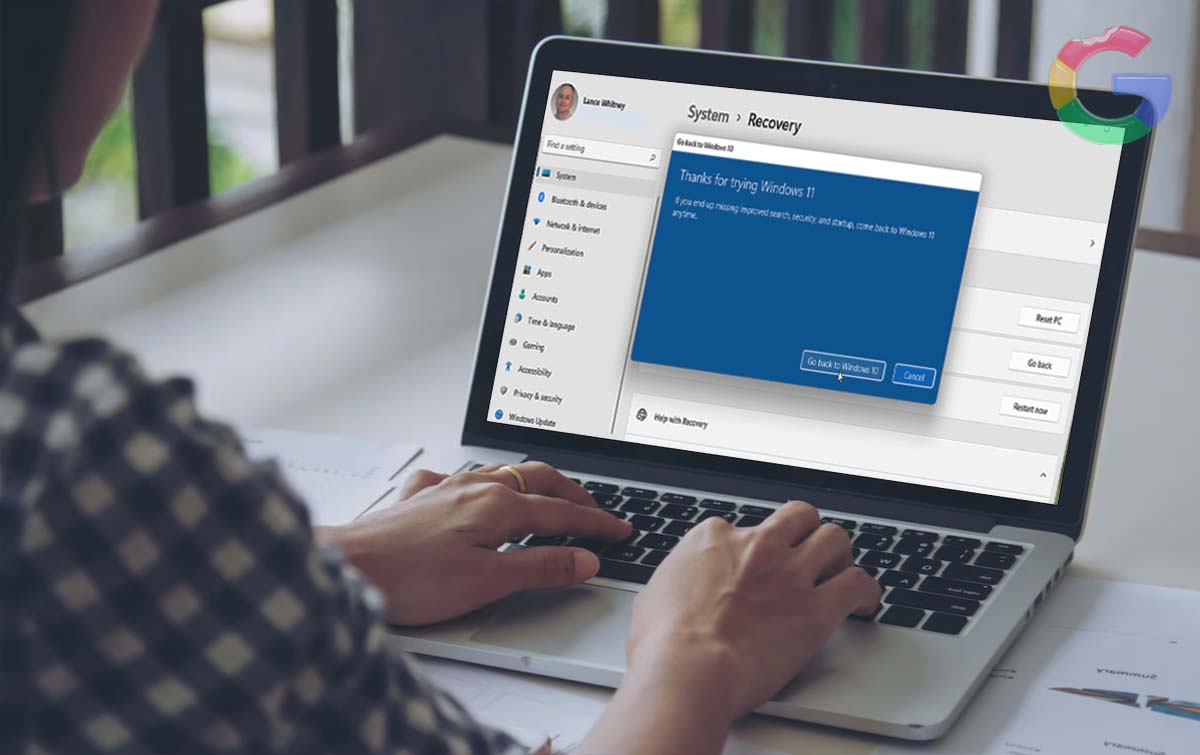
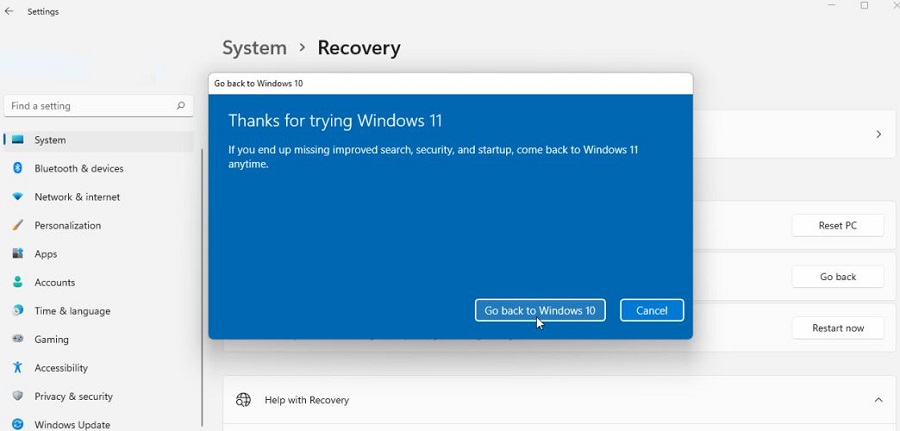
Before you start the roll back process, you’ll see a window asking why you want to go back to Windows 10, followed by numerous different interstitial panels that give options and/or guidance.
Take attention to the one that cautions against the necessity to reinstall programs and apps. Before moving on, you might wish to establish a list of the components you have installed.
Method 2. Downgrade After 10 Days (or from a Clean Windows 11 Install)
Already passed the 10-day roll back period for an in-place upgrade of Windows 10, or did your computer come with Windows 11 already installed? The only other option is to completely wipe the system clean and reinstall Windows 10.
Since you must first back up your media and create installation files before you can begin, this method isn’t difficult but does take a little longer. You should also write down your Windows license key in case you need it later for Windows 10 activation.
You’ll need a USB drive with at least 8GB of space or a blank DVD to make a bootable USB drive or DVD with Windows 10. The Windows 10 installation media tool can be downloaded from Microsoft’s Download Windows 10 page. The tool will walk you through each step.
Restart Windows once the USB drive or DVD is ready and you’ve organized your backups and license key information.
If the installer doesn’t start automatically, you’ll have to restart your computer and enter the boot menu by pressing a key on your keyboard (like F12) as soon as you see the first boot screen. Some PCs list this information on the boot screen, but if yours doesn’t, you can look online for the right key to press.
Choose your USB drive from the boot menu. The Windows 10 installer should then be loaded. Enter your product key after you’ve followed the instructions. After the installer is done, you should have a brand-new copy of Windows 10 that is fully activated and ready to go.
Conclusion
In conclusion, downgrading from Windows 11 to Windows 10 is a simple process if you follow the steps mentioned above. Remember to backup your files and data before downgrading and create a bootable USB flash drive with Windows 10 installation files.
Then, boot your computer from the USB flash drive and install Windows 10. Finally, restore your files and data from the backup. With these steps, you can easily downgrade to Windows 10 and continue using your preferred operating system.